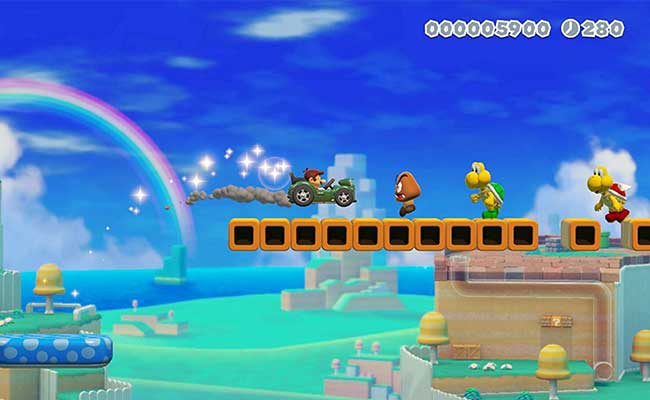
The level-crafting genius of Nintendo comes to the the Switch in June 2019 with Super Mario Maker 2 and once you’ve gotten you’re head around creating things you’ll need to know how to save a level. The good news is that it’s really easy to do and you can follow the steps below to bank your course as you go. We’ve also included details on how to access saved levels and upload them online, so that you can share your efforts with the world.
It’s worth bearing in mind that if you want to upload a level online for everyone else to play, you’ll need a Nintendo Online membership, which is a paid service. It’s £14.99 a year in the UK and $19.99 a year in the US, but there’s a bundle offer for both Super Mario Maker 2 and Nintendo Online, which has an RRP of £59.99 in the UK and $69.99 in the US.
How to save a level
Follow the steps below to save a game:
- Once your level is ready to save, navigates over to the little robot head box on the right hand side of the Make Mode page. You can find it just below the main menu icon under the magnifying glass.
- When you click A on the icon it opens up a new mini screen where you can see a number of options that includes Save As, Save and Upload. If this is your first save then you want to select Save.
- This will take you through to the My Courses page and from here you can select a block to save your level to by pressing A and then on the next page you’ll be able to give your level a name using the keyboard screen.
- Once you are happy with the name click Accept or press the plus button to Accept the name and then click OK to confirm.
- Your new course will show up on the My Courses page with a thumbnail to help you remember what it is and the name just below it. There isn’t much room for the name so try to be as memorable as possible right at the beginning, especially if you’re planning to create a lot of levels.
- Your course is now saved and you can return to it at any time to edit it or play it via the main menu, which you can get to you by pressing the plus button from the Make Mode screen.
- You can then click on your level once again using the A button, which will bring up your level details page. From here you can continue editing it by choosing Make, or play it by choosing Play.
You can find out more about Super Mario Maker 2 at Nintendo, and you can follow along with the the latest from Nintendo with the official Twitter page at twitter.com/NintendoAmerica.
How to upload a level online
If you have Nintendo Online then you can follow the steps below to upload your saved courses to the network, which will allow other gamers around the world to play your level too.
- From there make mode screen there are a couple of different methods to upload your level, depending on whether or not you want to upload the level that you’re working on or a previously saved level.
- If you want to upload the level that you currently have active then easiest way to do this is to click on the robot face icon on the right hand side of the make my page and select upload.
- However, if you want to upload a course that you saved previously but don’t have active then you need to return to the my courses page. You can do this via the main menu which is the yellow button with three horizontal white stripes on the right hand side of the make mode screen. Alternatively you can just press the plus button.
- The last option in the Super Mario Maker 2 Main Menu is Course Bot, which will bring up the my courses page as well as your downloaded courses in the second tab along.
- Click on the course do you want to upload using the A button and then select Upload to send it in using Nintendo online.
More Super Mario Maker 2 hints and tips
You can see more hints and tips for the game right here at Tuppence Magazine, including how to play as Luigi, how to zoom out to View Mode and how to make big enemies. It’ll be a part of our wider Super Mario Maker 2 guide, but if there’s something that you’re struggling to do you can drop us a comment at www.facebook.com/TuppenceMagazine/.


