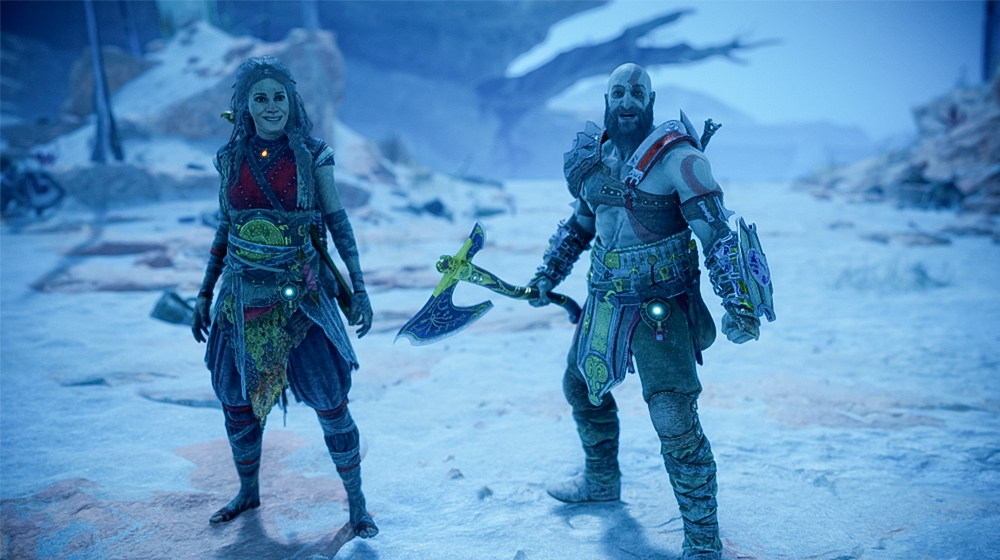
Here’s everything you need to know about how to open the Photo Mode in God of War Ragnarok to take a photo. This will give you the opportunity to freeze things in place and play around with the photography settings before snapping your pictures.
Sadly, Ragnarok initially launched without the photo mode, so during your first play through of the game you could catalogue your adventure with some scenic shots or a big beaming Kratos close up. However, in a recent update Santa Monica Studios has added the ability to take a photograph to the game, so now you can get to work.
AdvertisementBy this stage a lot of gamers will have completed the main story and be well into the end game content, which is pretty large. This will give you access to large parts of the game, so you can fast travel around to try out photo mode in different locations.
The downside is that a lot of the enemies aren’t the to spice up your shots, plus there are areas that you just can’t get back to after you beat the final boss. For example, if you want photographs in Asgard or with Atreus in bear form or the astral plains of Gigungagap then you’re going to need to start a new game to land them.
AdvertisementThis isn’t necessarily a bad thing, because there’s going to be a big God of War Ragnarok update in the coming months to introduce New Game+, so if you haven’t taken on Give Me God of War difficulty yet now’s a good time to get started. This will give you enough time to adjust to the level, get in some epic photos and be ready for any New Game+ GMGOW exclusive kit.
If the post helps you out, follow us on Twitter to show your support. You can see more on Ragnarok with the official Santa Monica Studios Twitter page at https://twitter.com/SonySantaMonica.
How to open photo mode
To open the God of War Ragnarok Photo Mode you need to pause the game after you get yourself into position. You can’t move any of the characters after you open it, so if there’s any setup you need to do that before you pause the game with the Menu button on PS4 and PS5.
AdvertisementWith the pause menu up, it’s easy to miss the Photo Mode prompt, but if you ignore the list on the left and look at the line of text at the bottom you’ll see what you need. Press the square button and that will allow you to take a photograph.
Once you’re in, there are a number of settings to play around with, which you can find out more about below, along with how to actually take a picture. You can choose to remove characters if you’re just looking for a scenic photo and with all of the snowy settings, you could probably get some good God of War Ragnarok Christmas cards.
How to take a photograph
Once you’ve got everything setup the way you want it with the settings in the Photo Mode you can take a picture by pressing the Share button on your PS4 or PS5 controller. Don’t forget to press the square button to hide the UI before you press Share and then press X to take a screenshot of your photograph. You can also just press and hold the Share button to take a snap instantly once you’ve hidden the UI.
If you’re not too sure about any of the settings in the God of War Ragnarok Photo Mode, the field of view is the amount of the action you can see and the focal length is the distance of the lens, so one is the opposite of the other. Use the camera roll to tilt left or right, depth of field is a toggle custom and off, and you can customize it with the setting beneath it.
Focus Distance is the depth of the focus to decide how much of the foreground, middle ground and background to have in focus. The F-Stop is the shutter size, which decides how much light to let through. A lower F-Stop is a bigger shutter size, so you let more light through, but you’ll have more of the background out of focus and a shorter Focus Distance. A higher F-Stop gives you a smaller shutter, so less light gets through, but you’ll have more of the background in focus.
Film grain gives you tiny flecks (grain) in the picture, exposure is the amount of light you let in and the filter is a style added to your photo (e.g. black and white, sepia etc.). Vibrance and Saturation adds brighter and more vivid colors into the shot and Vignette gives you a dark or light rounded border.
Finally, you can then choose to show or hide characters and change Kratos and your secondary character’s face. That should give you everything you need to know how to take photos in God of War Ragnarok, so if you’ve got any epic shots you want to brag about let us know on Twitter with an @TuppenceMag mention.
Don’t forget to check out our computer games section to keep tabs on the game, or visit the PlayStation website at https://www.playstation.com/en-gb/games/god-of-war-ragnarok/ for more details on the game.


